Adding new users
Adding new users
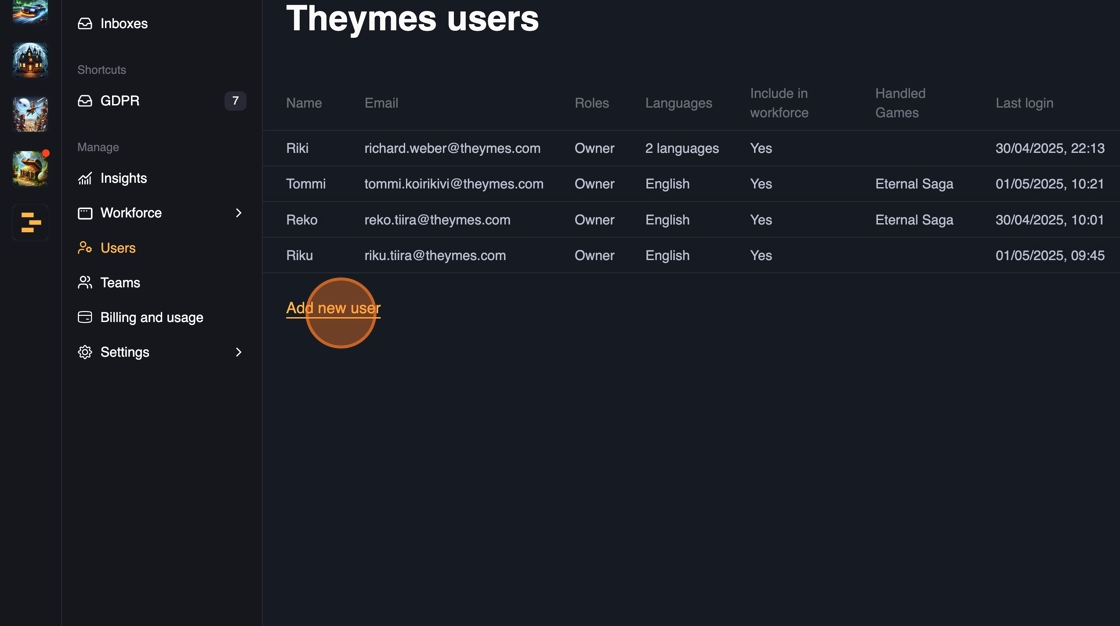
2. When you want to add new users into your company. Navigate to a company by clicking from the top left. And then click 'Users' from the navigation.

3. Click 'Add new user'
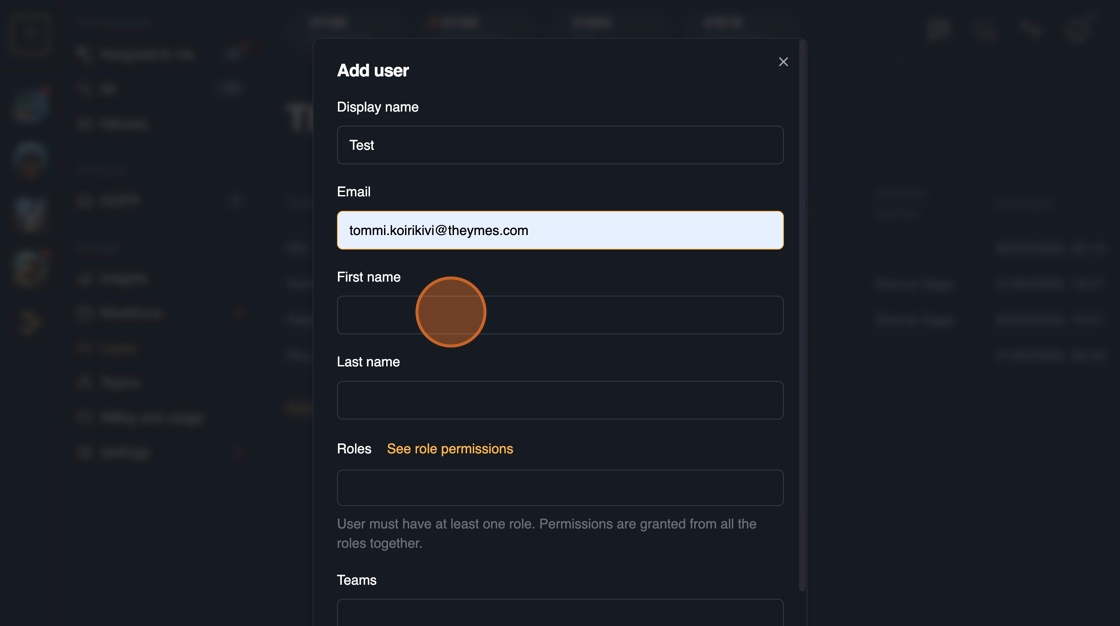
4. Fill in the details. Only Display Name will be visible for the customer.
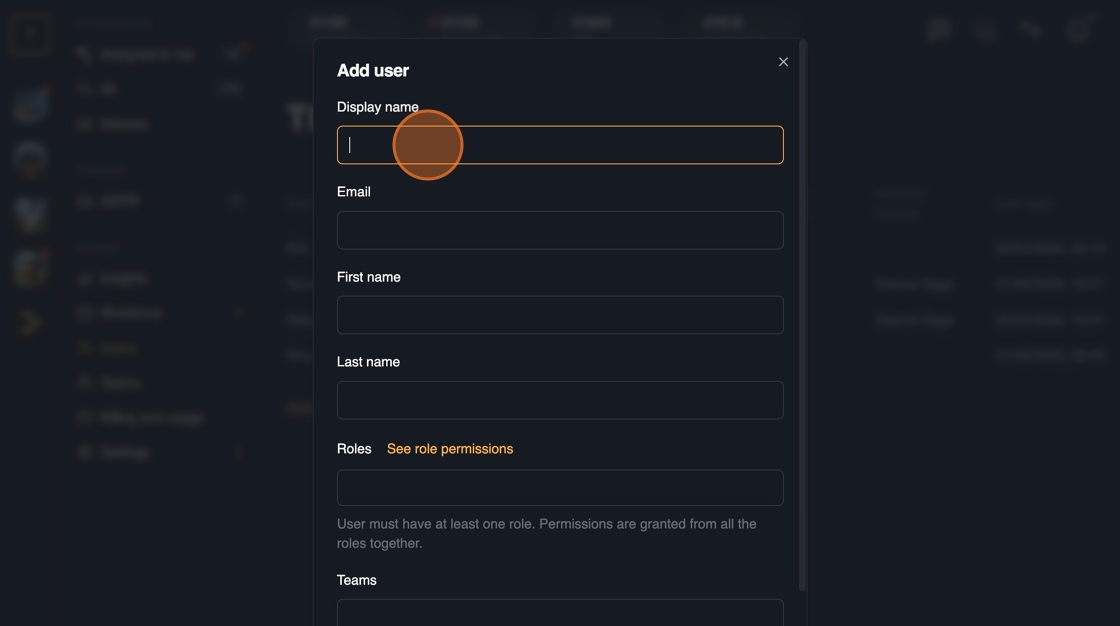
5. Email address will be used to log-in to the application. Make sure it's correctly written.
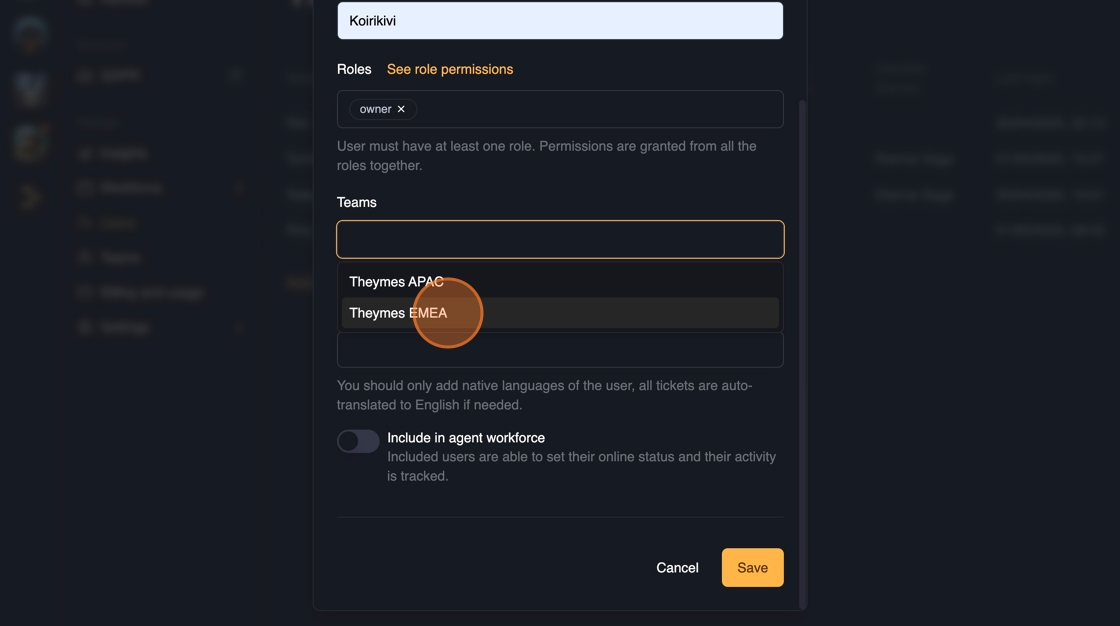
6. You can setup a different roles for the user. These roles will effect how the application looks and some default view options might vary. For example the default view for the agents is 'Assigned to me' view.
You can see more information about the roles when pressing "See role permissions".
It's possible to have multiple roles added.

7. If you have set teams structure, you can assign the user to an existing team.
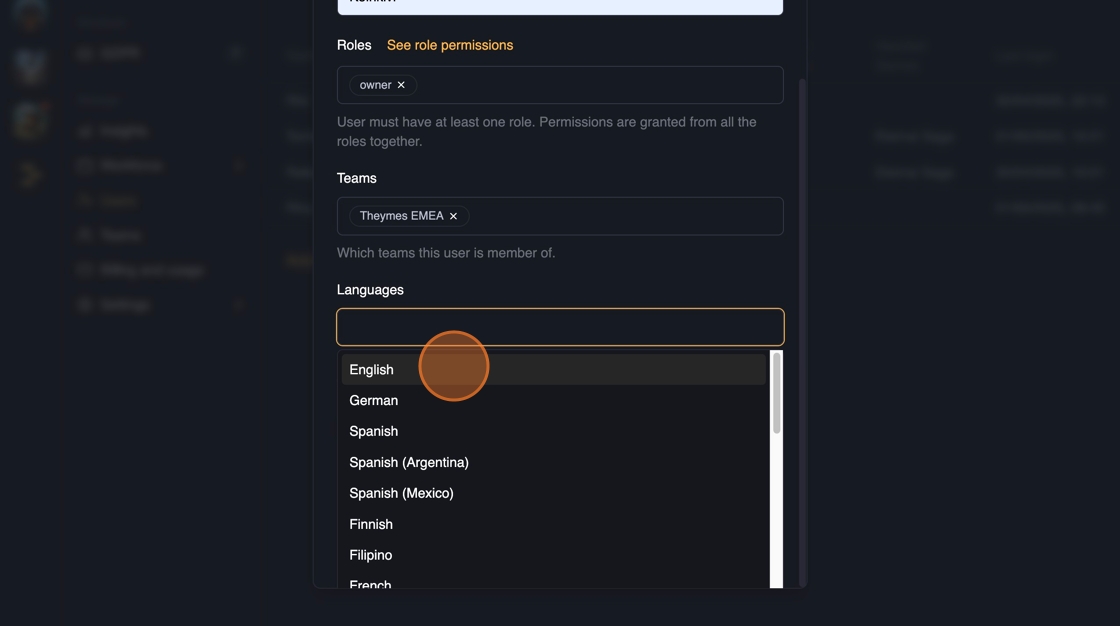
8. Set the languages the user prefers. These options will have effect in the ticket routing. When the automatic routing is enable, there is priority for to pair the languages between the support and the customer.
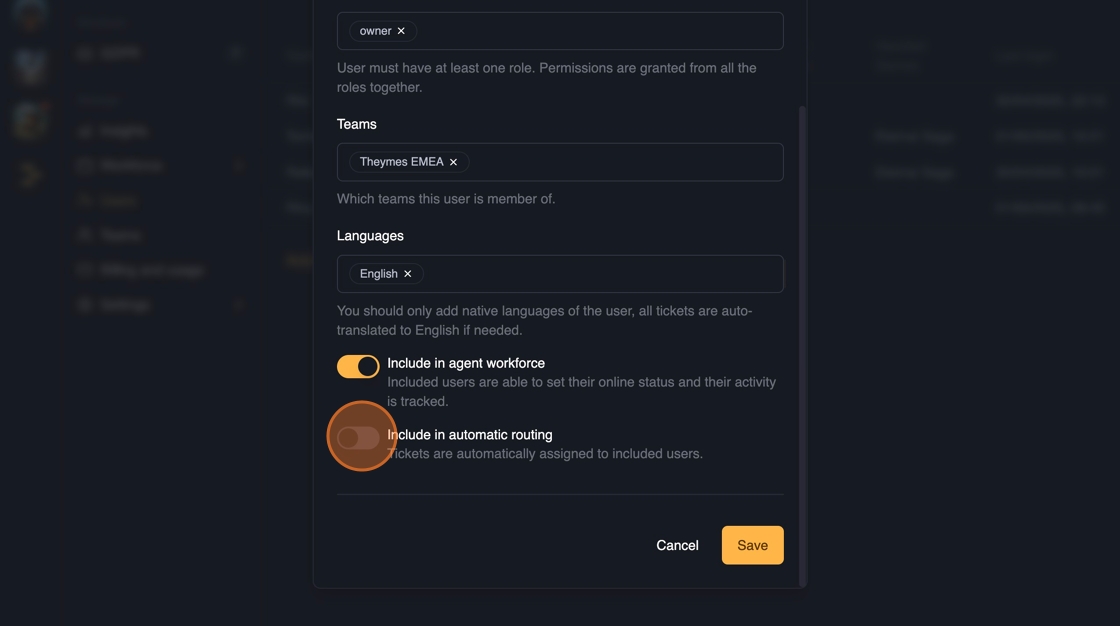
9. If workforce is enable, you can include the user in the workforce management.

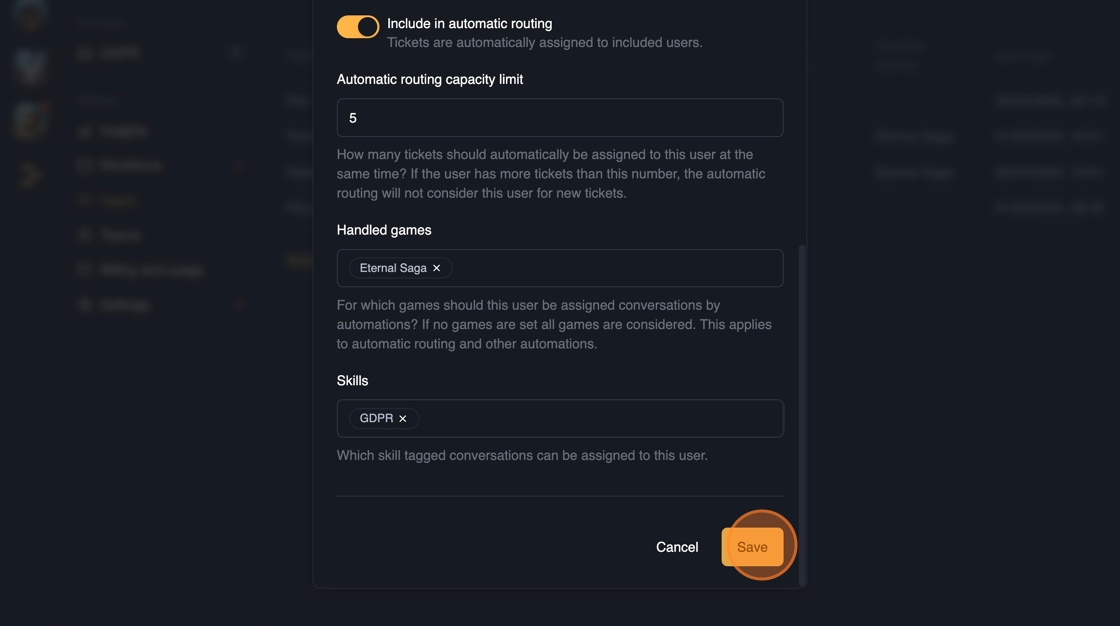
10. To enable automatic routing, check the toggle on for "Include in automatic routing"
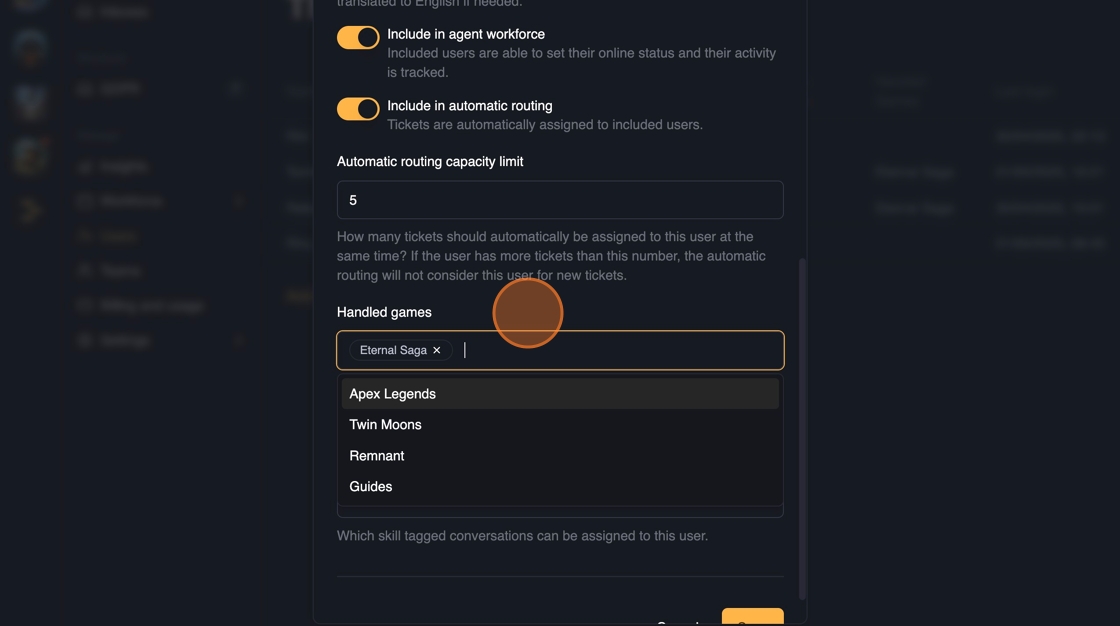
11. Set the automatic routing capacity limit.
How many tickets should automatically be assigned to this user at the same time? If the user has more tickets than the inserted number, the automatic routing will not consider this user for new tickets.

12. Set from which of the games the users will receive tickets.
13. If you have added Skills from the tags, you can enter skills for the user. These will get priority in the routing. For example 'GDPR' tag can be converted to a skill and the user would have priority over these tickets.
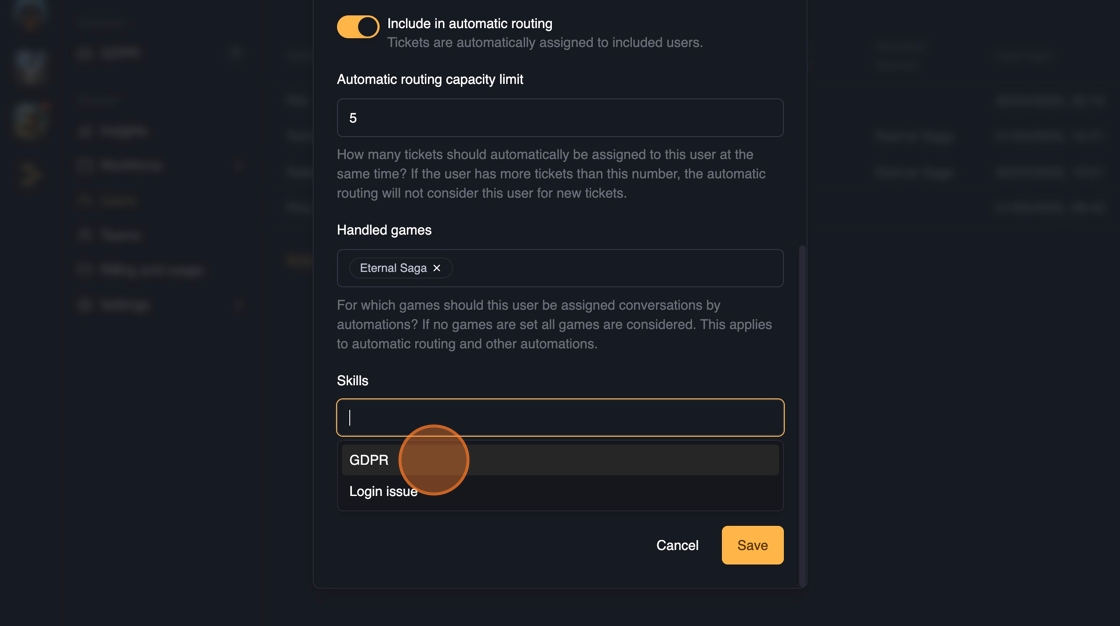
14. Click save to add the user to the company.
Once the user is added they can login to the application from app.theymes.com.