Bulk assign
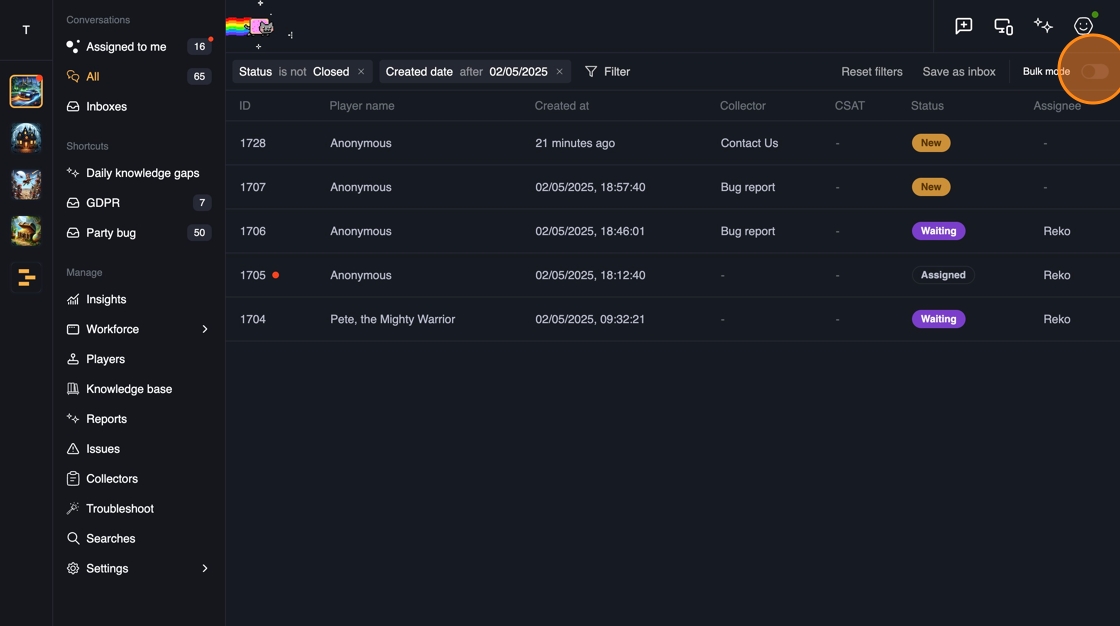
When you are in a ticket list view with the tickets that you want to re-assign, click "Bulk mode" from top right to enable bulk mode.
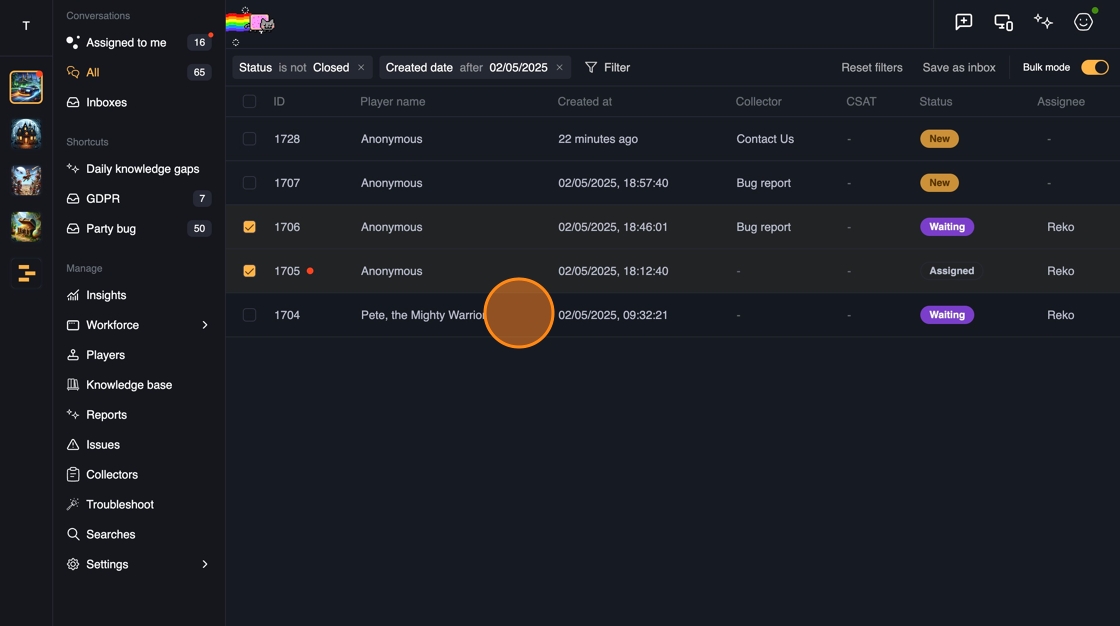
Tip: You can also shift+click tickets to select them without explicitly enabling bulk mode first.
Select the tickets you want to re-assign.
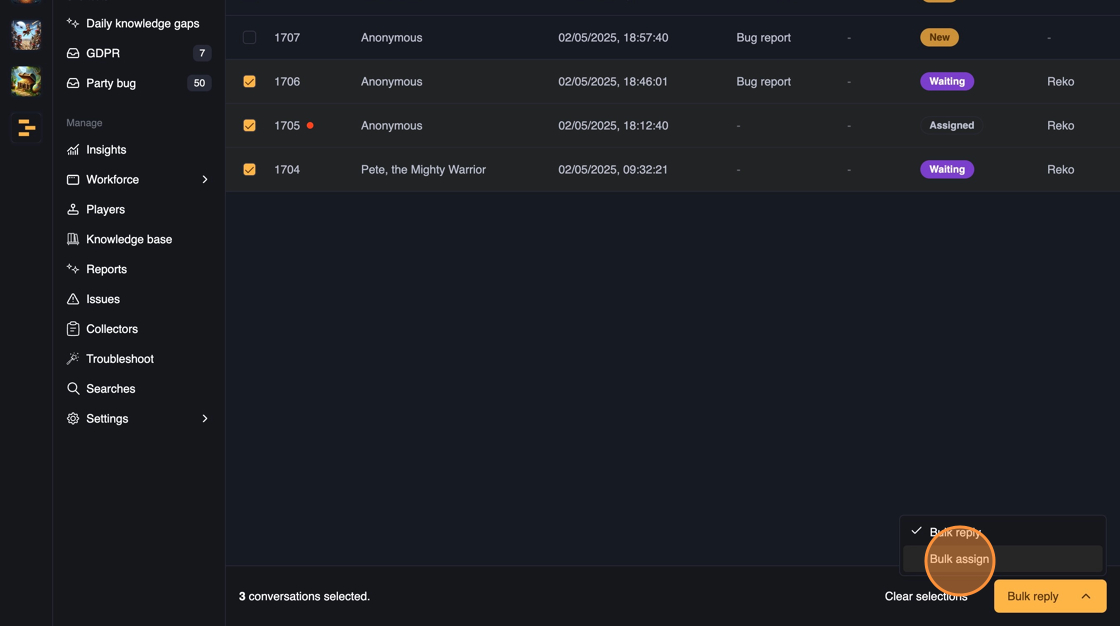
You can see how many tickets you have selected at left side of the bottom bar. To bulk assign, click the arrow button on the bulk action button on the right of the bottom bar.

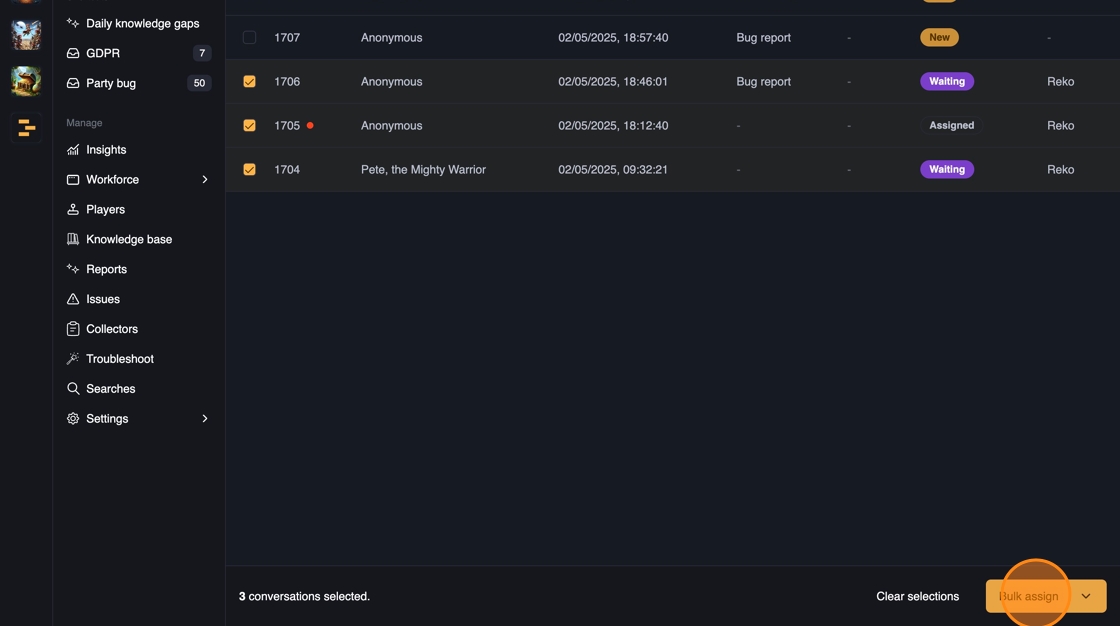
Click the "Bulk assign" selection, which changes the button to "Bulk assign". Then click the button again.
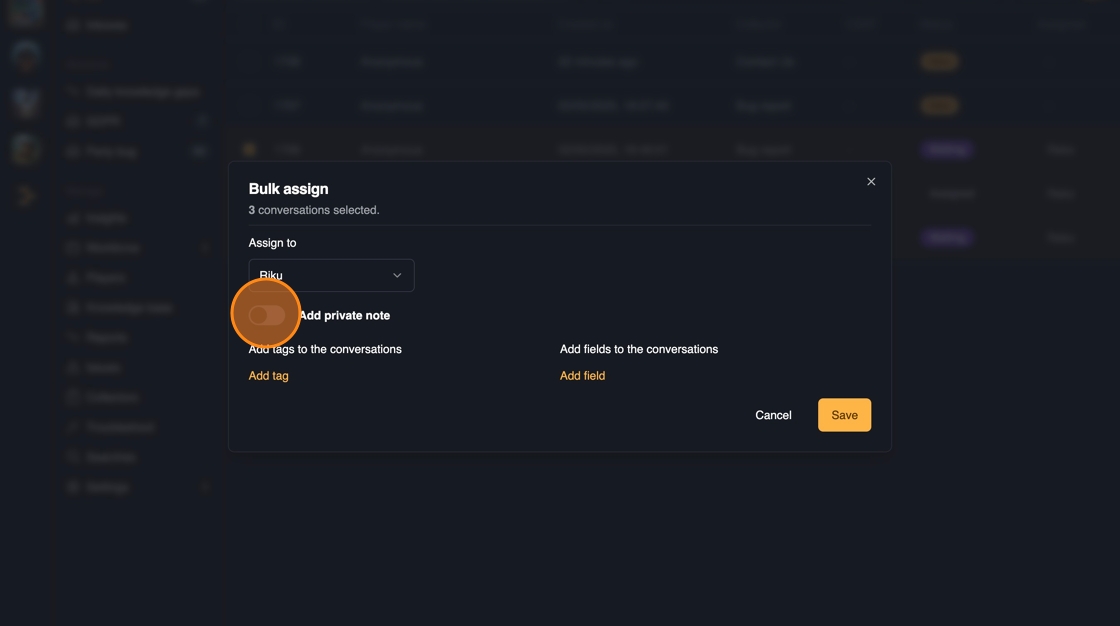
From the bulk assign dialog that opens, select the user you want to assign the tickets to.

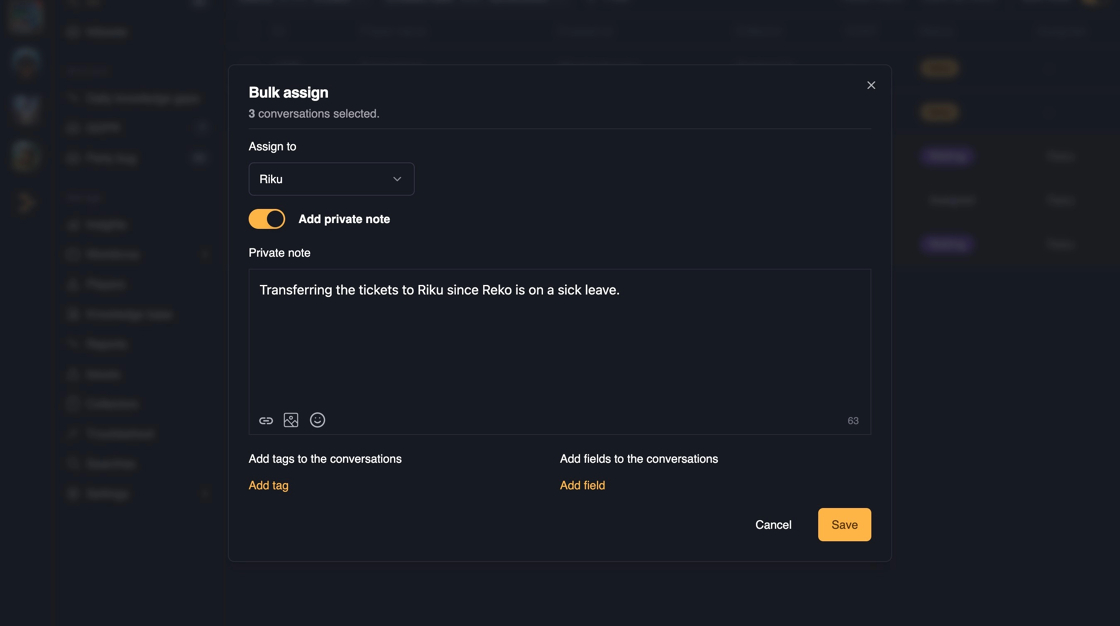
Optionally you can also add a private note to the tickets that are re-assigned by clicking on the "Add private note" toggle.
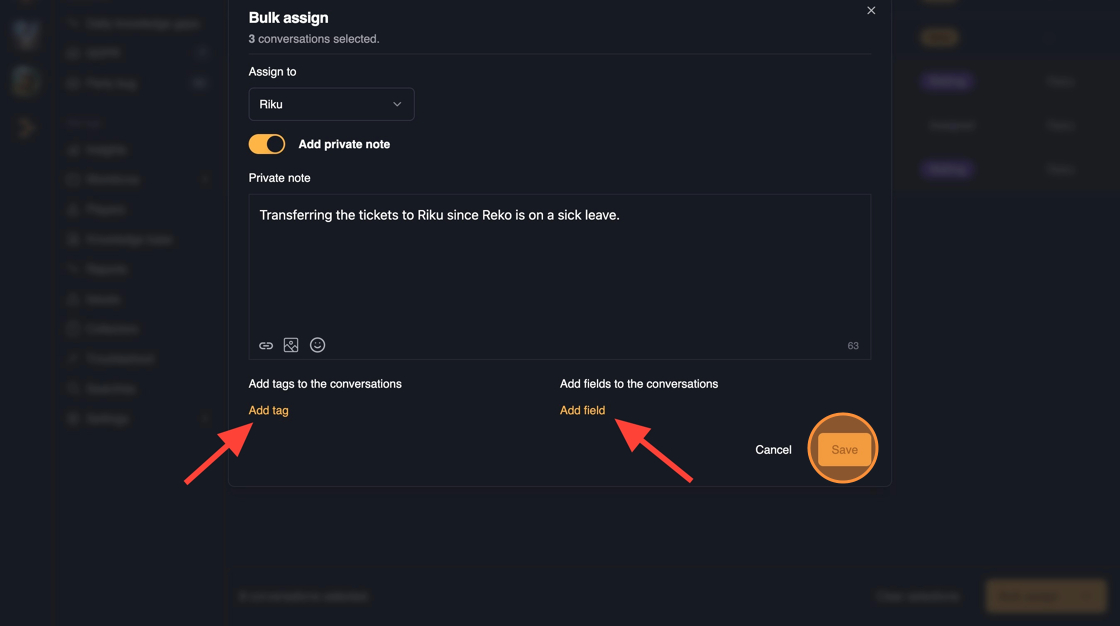
You can optionally also add tags and fields to the ticket when re-assigning. Once you're done, click "Save" to re-assign the tickets.
You will get a confirmation that the bulk assign has been started. You will see the tickets update real time in the list as they are re-assigned.
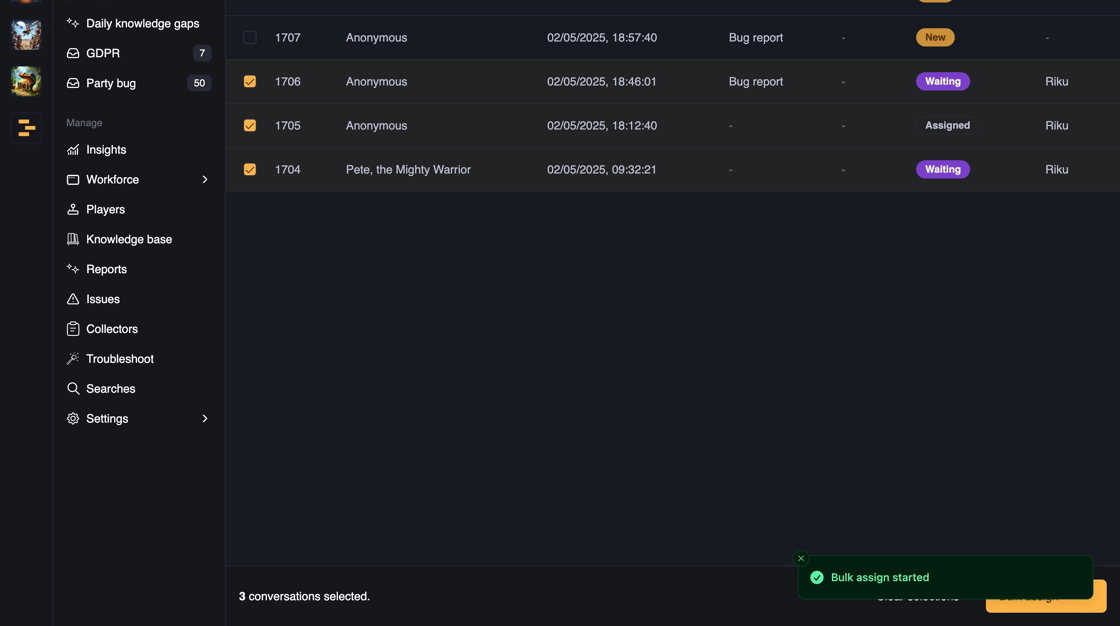
Click "Clear selections" to clear the selected tickets and turn off bulk mode.
