Setting up collectors
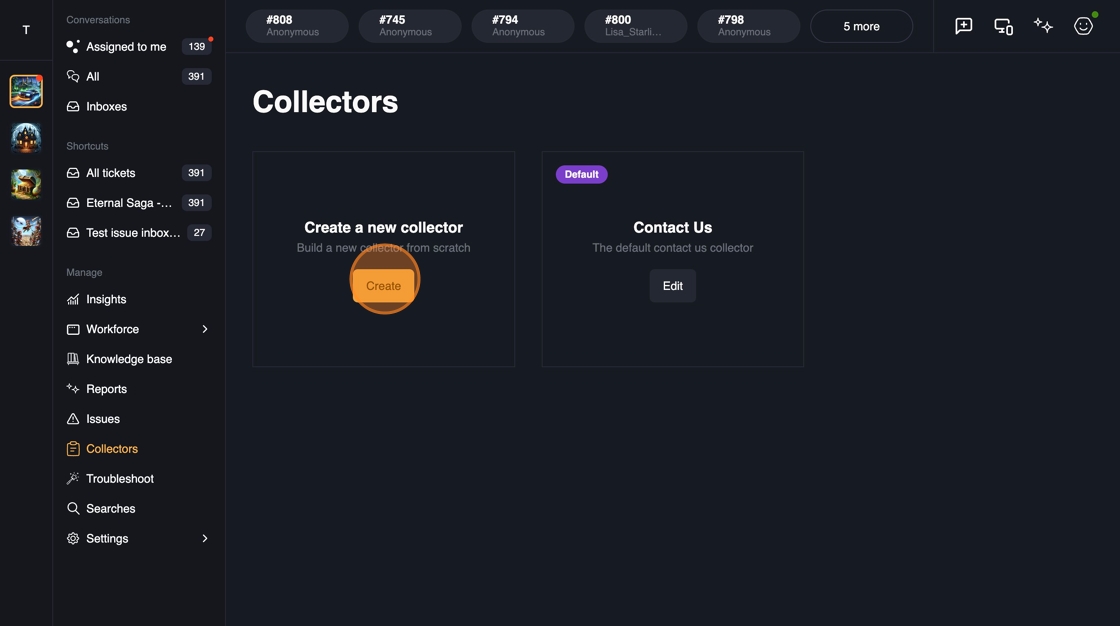
To create a collector, first select a game and then navigate to the Collectors in the navigation. From the collectors view, click Create new collector.
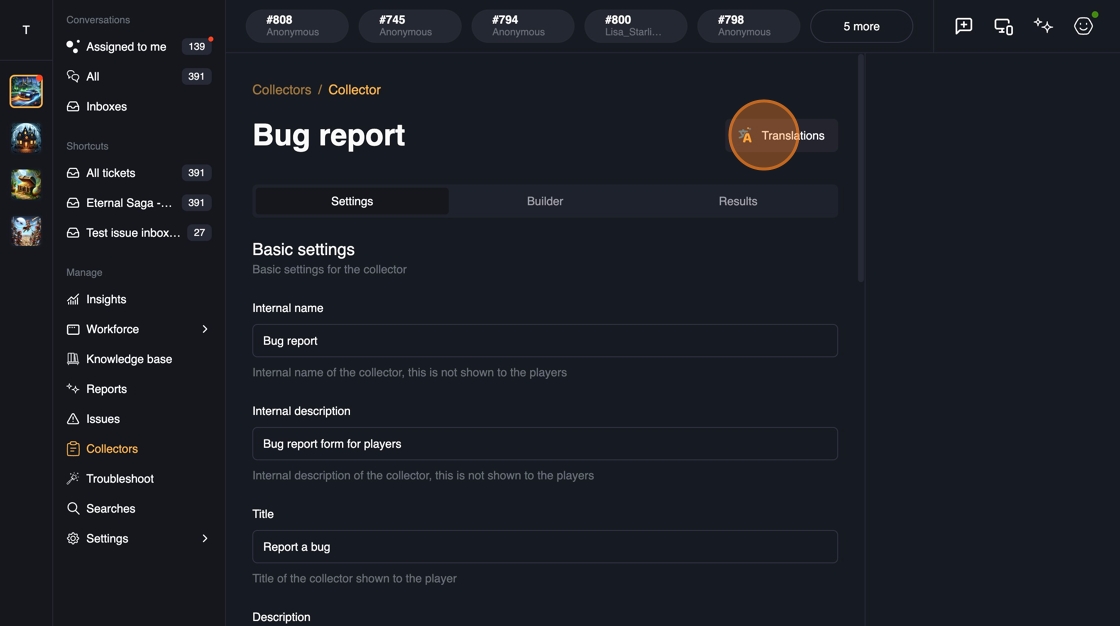
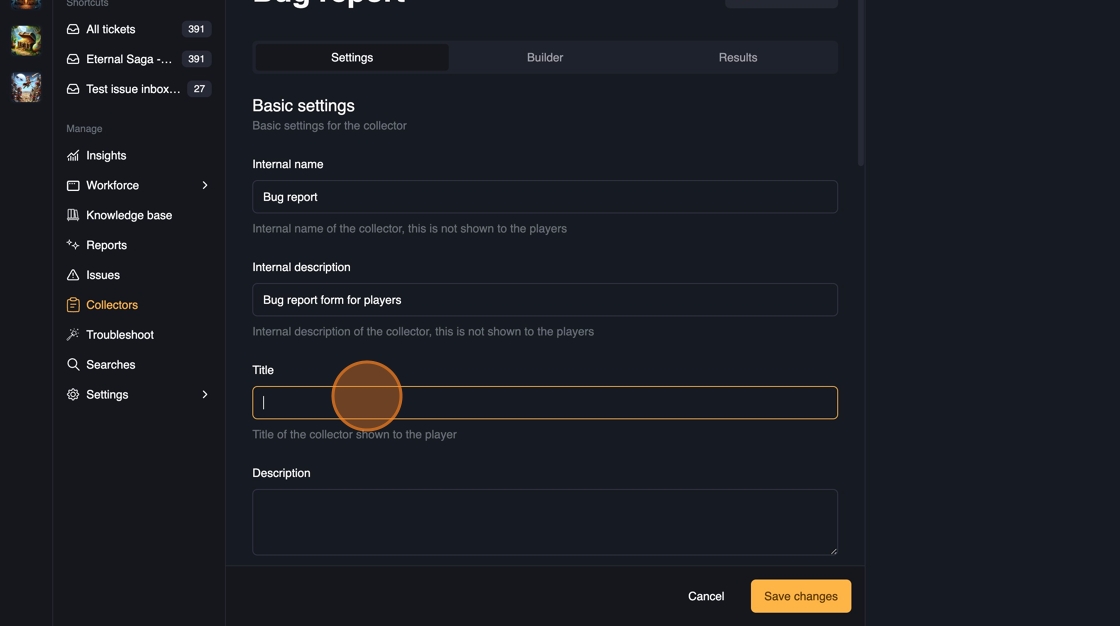
You can give collector an internal name and description which are visible in the support application.
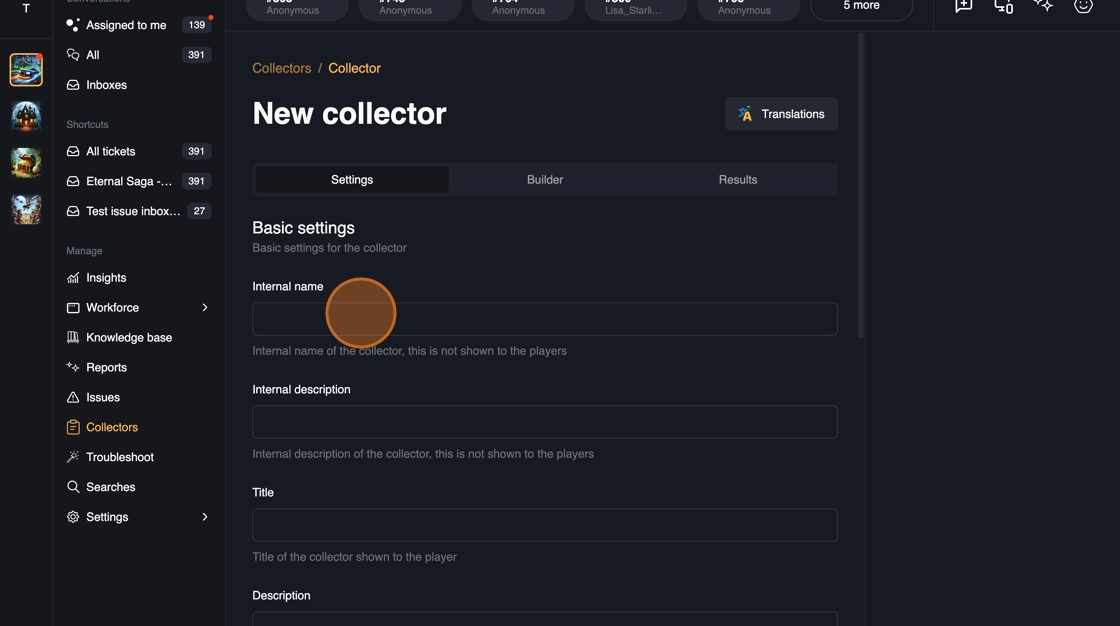
The title, description and submit button text are shown to the user when they view the collector.
You can decide what action to take when an user submits the collector. You can take the user into support or only collect the information (e.g. feedback form) and show the user a thank you page.
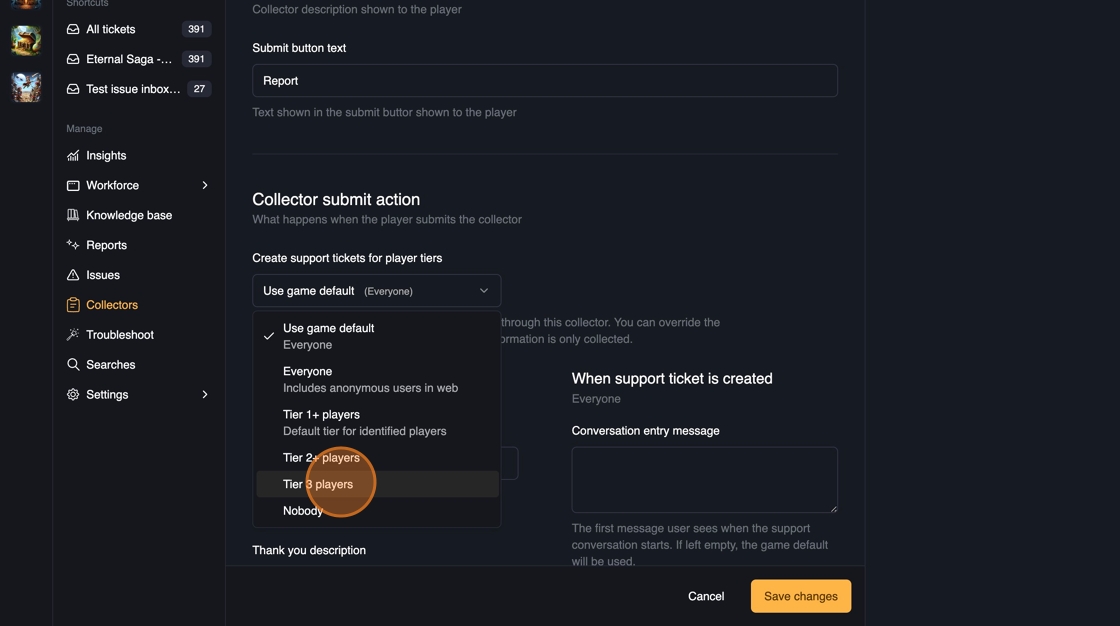
You can configure the collector to use the game default of who can contact support or override the default if needed. For example, you might not want to enable support for anonymous players except for a special lost account collector. Or you might want to collect information for most users but take your VIP users to support for better service.
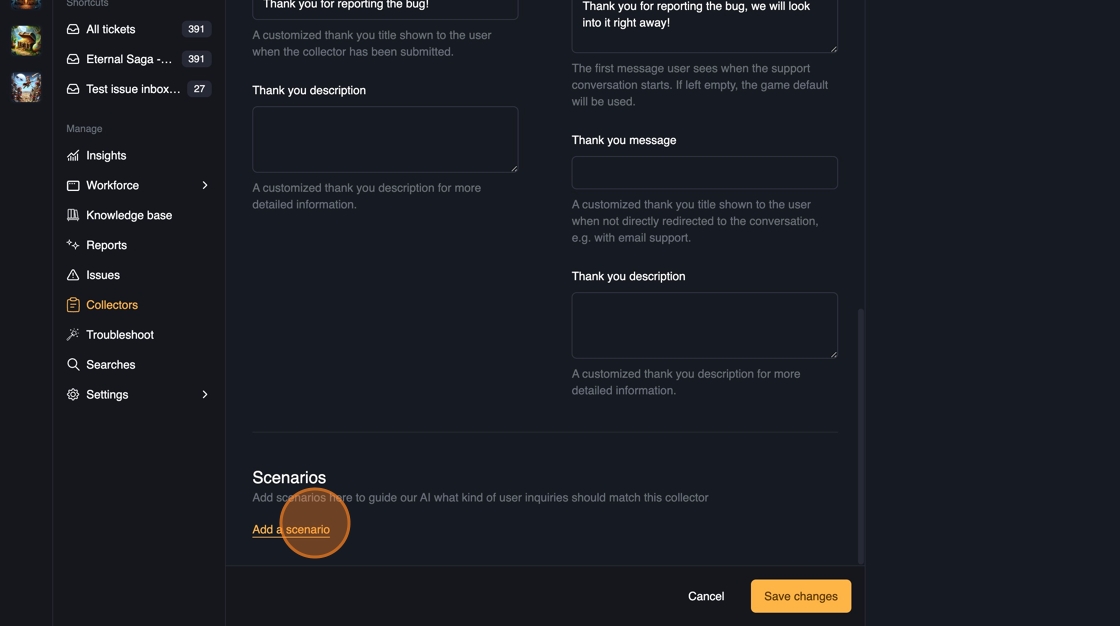
You can also configure what to show to the users once they are taken to support or when they see the thank you page. Game defaults are used if not specified.

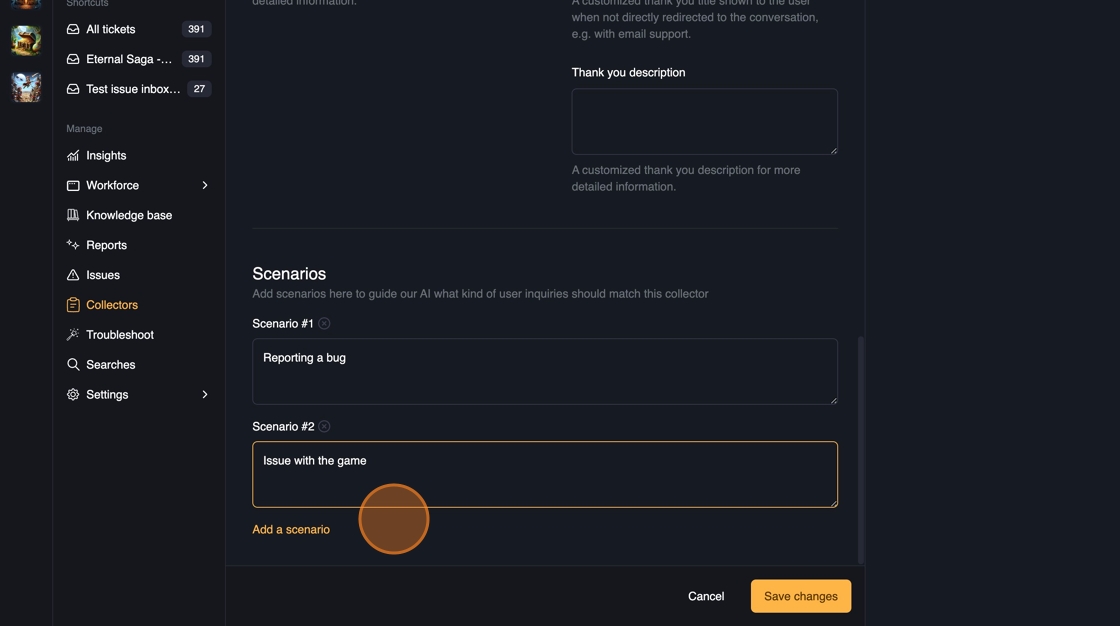
You can also add scenarios to collectors. Our assistant uses these scenarios to suggest relevant collectors to users based on a smart intent matching to deliver the best results. You can add as many scenarios as you like, and we recommend reading the Scenarios Best Practices article to get the most out of them.
You can edit all the translations using the Translations button at the top.